How to Make a Graphical Abstract: Free Maker & 7-Step Guide (2026)
Free graphical abstract maker + step-by-step guide. Create Elsevier & Cell journal-ready abstracts in minutes. Includes size specs (1328x531px, 1200x1200px), templates, and AI tools.
How to Make a Graphical Abstract: Free Maker & 7-Step Guide (2026)
The right visual can transform how widely your research gets read.

Free Graphical Abstract Maker
Create journal-ready graphical abstracts for Elsevier, Cell & Nature in minutes. AI-powered, no design skills needed.
Try it free →Elsevier has tracked article performance across thousands of publications and found that papers paired with a graphical abstract receive substantially more views and social engagement, with some datasets showing annual article usage nearly doubling compared to text-only entries.
Despite those numbers, visual communication is rarely taught in graduate programs. This guide walks you through the complete process: journal specs, core design principles, recommended tools, and a practical step-by-step workflow.
What Is a Graphical Abstract?
A graphical abstract is a standalone visual that distills your paper's central finding into a single image. Rather than asking readers to parse paragraphs, it relies on diagrams, icons, and brief labels to communicate the core idea within seconds.
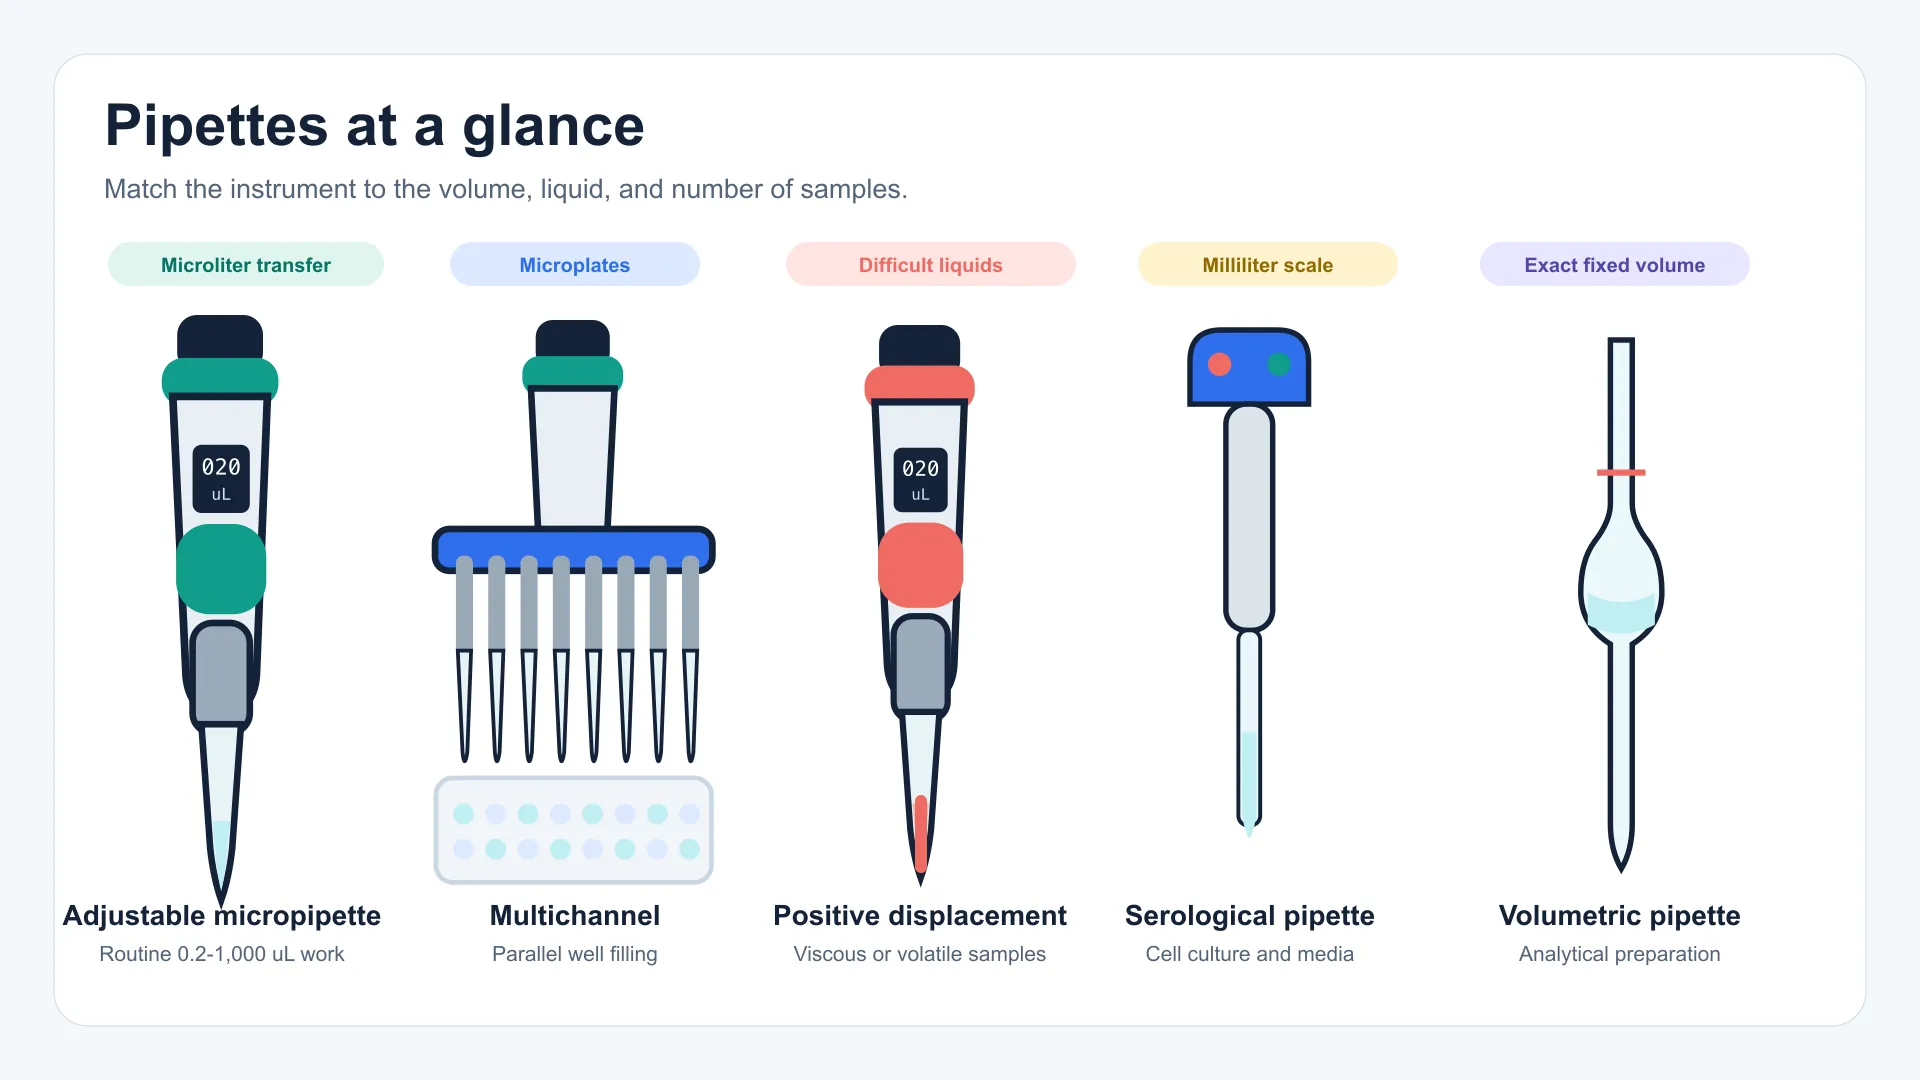
 A clean visual summary that conveys complex research at a glance.
Defining features:
- One panel, a unified composition, not a multi-panel figure
- Visuals lead, imagery carries the message; text plays a supporting role
- Stand-alone clarity, readers should grasp the finding without opening the paper
- Broad accessibility, designed for audiences across disciplines
What a graphical abstract is NOT:
- A repurposed figure lifted directly from the manuscript
- A flowchart of your full methodology
- A text-heavy infographic with dense paragraphs
- A miniature table of contents
Why Graphical Abstracts Matter
Impact on Visibility
The performance data on graphical abstracts is consistent across publishers:
| Metric | With Graphical Abstract | Without |
|---|---|---|
| Article views | ~2x higher | Baseline |
| Social media shares | Significantly higher | Lower |
| Time to first citation | Often faster | Slower |
| Interdisciplinary reach | Broader | Limited |
Journal Requirements
A growing number of publishers now mandate or actively encourage graphical abstracts:
- Cell Press journals, Required for all research articles
- Elsevier journals, Encouraged or required across many titles
- FEBS journals, Encouraged, with AI-generated visuals permitted
- JCI, Required for research articles
Even for journals that treat them as optional, submitting a graphical abstract gives your paper an edge in attracting readers who skim before committing to the full text.
Journal Requirements: Cell vs. Elsevier vs. Others
Specifications differ by publisher, and getting the dimensions wrong can trigger a desk rejection or submission error. Here is a side-by-side comparison:
Technical Specifications
| Publisher | Dimensions | Resolution | Format |
|---|---|---|---|
| Cell Press | 1200 x 1200 px (square) | 300 DPI | TIFF, EPS, PDF |
| Elsevier | 1328 x 531 px (or 500:200 ratio) | 300 DPI | TIFF, EPS, PDF, MS Office |
| Nature Reviews | Varies by journal | 300 DPI | Check specific journal |
| JCI | Per journal guidelines | 300 DPI | See journal page |
Cell Press Specific Guidelines
The Cell Press graphical abstract guidelines specify:
- Size: 1200 x 1200 pixels at 300 DPI
- Font: Avenir or Arial, minimum 12-16 points
- Colors: Steer away from heavily saturated primary colors
- Content: The take-home message should be immediately apparent
- Submission: Upload as a separate file from your manuscript figures
Practical tip: In PowerPoint, adjust your slide dimensions to 1200 x 1200 pixels before designing, then export at 300 DPI to meet the spec cleanly.
Elsevier Specific Guidelines
Elsevier's graphical abstract guidance sets these requirements:
- Size: Minimum 1328 x 531 pixels (500:200 ratio)
- Font: Times, Arial, Courier, or Symbol
- Resolution: 300 DPI minimum
- Format: TIFF, EPS, PDF, or MS Office files
- Content: Do not place the heading "graphical abstract" inside the image itself
- White space: Reduce unnecessary blank areas throughout the composition
The 10 Principles of Effective Graphical Abstracts
The paper "Ten Simple Rules for Designing Graphical Abstracts" (Jambor and Bornhäuser, PLOS Computational Biology, 2024) offers a robust framework for researchers at any design experience level. Here are the core principles:
1. Anchor Everything to a Single Message
Before touching any software, write down the one thing readers must take away. Keep it to a sentence or two. That statement drives every design decision that follows. If you cannot phrase the finding clearly in words, translating it into visuals will be even harder.
2. Select a Visual Metaphor That Matches Your Research
The central image should reflect the nature of your work:
| Research Type | Visual Approach |
|---|---|
| Process or mechanism | Flowchart with directional arrows |
| Comparison | Side-by-side or before-and-after layout |
| Novel discovery | Highlighted key finding as the focal point |
| Method or protocol | Condensed workflow diagram |
| Structure or model | Annotated diagram |
3. Build a Logical Reading Path
Viewers scan before they read. Guide them intentionally:
- Left to right (standard for Western readers, the most widely used approach)
- Top to bottom (suits vertical processes or hierarchies)
- Center outward (works well for radial or hub-and-spoke concepts)
A layout that leaves readers guessing at the sequence will lose them before they reach the main finding.
4. Deploy Arrows with Purpose
Arrows do the narrative heavy lifting in a graphical abstract. Use them to indicate:
- Sequence and progression
- Cause and effect relationships
- Transformation from one state to another
- Direction of flow or transfer
Keep arrow style, weight, and color uniform throughout the composition.
5. Treat Text as a Last Resort
| Element | Guideline |
|---|---|
| Total word count | 60-80 words maximum |
| Font size | Legible when the image is scaled to thumbnail size |
| Labels | Short phrases only, no full sentences |
| Technical jargon | Avoid: write for readers outside your specialty |
Exceeding 80 words is a reliable signal that the visual design is not doing enough work.
6. Apply Color with Discipline
- Three to five colors at most: additional colors create visual noise
- Color should carry meaning, not serve as decoration
- Design for color-blind readers: avoid red-green pairings
- Stay consistent with your paper's figures for a unified look
For deeper guidance on palette selection, see our Scientific Color Palette Guide.
7. Simplify Without Mercy
Every element in the composition needs a reason to be there. Before finalizing, ask:
- Does this element reinforce the main message?
- Can I cut it without losing meaning?
- Is this level of detail required for comprehension?
If the honest answer is no, remove it.
8. Source Professional Icons and Illustrations
Avoid clip art and mismatched icon sets. Reliable sources include:
- Bioicons, Free scientific icons
- Servier Medical Art, 3,000+ free medical illustrations
- BioRender, 40,000+ scientific icons (paid)
- Figviz, AI-generated scientific diagrams
9. Pick a Tool Suited to Your Skill Level
Match the software to your experience and timeline. See the Tools section below for a full breakdown.
10. Collect Feedback Before You Submit
Run your draft past at least three people:
- A colleague in your field to check scientific accuracy
- A researcher from a different discipline to assess clarity
- Someone outside academia entirely to test accessibility
If they cannot summarize your finding back to you, the design needs another pass.
Step-by-Step Creation Process
A practical workflow that takes you from blank canvas to submission-ready file:
Step 1: Define Your Message (10 minutes)
Work through these questions in writing:
- What is the central finding of this paper?
- Why is it significant or novel?
- What would a reader in an adjacent field find most surprising?
Compress your answers into one or two sentences. This is your north star for every subsequent decision.
Step 2: Sketch on Paper (15 minutes)
Resist opening software at this stage. Use paper to explore:
- Multiple layout orientations (horizontal, vertical, radial)
- The key visual elements you will need to source or create
- How those elements connect through flow or sequence
 Even intricate scientific mechanisms can be rendered in clean, legible visuals.
Sketching on paper is faster than iterating digitally and keeps you focused on structure rather than styling.
Step 3: Gather Visual Elements (20 minutes)
Assemble the building blocks:
- Icons or illustrations representing your key concepts
- Simplified data visualizations where necessary
- A color palette limited to three to five colors
Time-saving option: Use Figviz to generate concept diagrams for scientific and biological topics quickly. Having a rough AI-generated draft in hand makes it much faster to identify what elements you actually need.
Step 4: Build the Digital Draft (30-60 minutes)
Open your chosen tool and follow this sequence:
- Configure canvas dimensions to match the journal spec (e.g., 1200 x 1200 px for Cell)
- Position your main visual as the focal point or starting element
- Layer in supporting elements along your planned reading path
- Connect with arrows to make relationships and sequence explicit
- Add text sparingly, using it only for labels that cannot be conveyed visually
Step 5: Refine and Strip Back (20 minutes)
Review the draft critically:
- Cut anything that does not directly support the main message
- Verify that icon styles, colors, and fonts are consistent
- Confirm text remains legible when the image is scaled down to thumbnail size
- Check color combinations for accessibility
Step 6: Gather Feedback (Variable)
Share the draft with colleagues and refine based on their responses. This step often reveals assumptions that seemed obvious to you but are opaque to readers outside your specialty.
Step 7: Export at the Correct Specifications (5 minutes)
For Cell Press:
Export as TIFF or PDF
Dimensions: 1200 x 1200 pixels
Resolution: 300 DPI
Color mode: RGB
For Elsevier:
Export as TIFF, EPS, or PDF
Dimensions: 1328 x 531 pixels minimum
Resolution: 300 DPI
Color mode: RGB
Tools for Creating Graphical Abstracts
Professional Tools
| Tool | Price | Best For | Learning Curve |
|---|---|---|---|
| Adobe Illustrator | $23/month | Full customization, print-ready output | High |
| Affinity Designer | $70 one-time | Professional vector editing without subscription | Medium |
| BioRender | $35/month | Scientific icon libraries and templates | Low |
Free Tools
| Tool | Best For | Limitations |
|---|---|---|
| Inkscape | Full vector editing at no cost | Steeper initial learning curve |
| draw.io + Bioicons | Quick diagrams with scientific icons | Fewer styling options |
| Canva | Template-based compositions | Limited scientific specificity |
| PowerPoint or Keynote | Familiar interface and sharing | Reduced precision for fine layout work |
AI-Assisted Tools
| Tool | Use Case |
|---|---|
| Figviz | Generate concept diagrams, pathway illustrations, and cell diagrams for use as starting points |
| Grabstract | Convert text abstracts into rough visual drafts |
| DALL-E or Midjourney | General visual concepts (verify your journal's AI policy first) |
A note on AI usage: An increasing number of journals explicitly permit AI-generated graphical abstracts. FEBS Press, for instance, accepts them provided authors confirm accuracy and disclose AI involvement in the caption. Policies differ widely, so always verify with your target journal before submitting an AI-generated image.
Recommended Workflows by Budget
Free workflow:
- Sketch your concept by hand
- Generate initial diagrams with Figviz
- Assemble and refine in Inkscape or draw.io
- Export at the journal's required specifications
Professional workflow:
- Sketch your concept by hand
- Source icons from BioRender or Bioicons
- Compose in Adobe Illustrator
- Export as a vector PDF or high-resolution TIFF
Common Mistakes to Avoid
Mistake 1: Cramming in Too Much
Problem: Attempting to represent every finding or contribution from the full paper.
Solution: Commit to one central message. Think of the graphical abstract as an advertisement for your work, not a condensed version of it.
Mistake 2: Recycling a Paper Figure
Problem: Dropping an existing manuscript figure into the submission form.
Solution: Create a purpose-built visual designed specifically to stand alone. Most journals explicitly prohibit reusing figures from the manuscript.
Mistake 3: Overloading the Design with Text
Problem: Adding explanatory sentences that crowd out the visual elements.
Solution: Cap your word count at 60-80 words. If text is doing most of the communicating, the visual concept needs rethinking.
Mistake 4: Ambiguous Reading Order
Problem: Viewers land on the image without knowing where to begin or how the elements connect.
Solution: Use arrows, numbered labels, or clear spatial flow (left to right, top to bottom) to establish an unambiguous sequence.
Mistake 5: Mismatched Visual Styles
Problem: Blending icons from different sets, mixing font families, or using clashing color schemes.
Solution: Commit to a single visual system and apply it throughout every element in the composition.
 Consistent visual styling produces a polished, cohesive result.
Mistake 6: Starting at the Wrong Canvas Size
Problem: Designing at an arbitrary size, then discovering awkward cropping or stretching is needed to meet submission specs.
Solution: Configure the canvas to the exact required dimensions before placing a single element.
Mistake 7: Leaning on Specialist Jargon
Problem: Using abbreviations and field-specific terminology that only specialists in your subfield recognize.
Solution: Graphical abstracts are built for interdisciplinary readers. Spell out acronyms, or replace text labels with illustrative visuals wherever possible.
Mistake 8: Exporting at Screen Resolution
Problem: Saving the file at 72 DPI, the default for on-screen display, instead of the 300 DPI required for print.
Solution: Configure the export resolution to 300 DPI before beginning your design, not as a final step. Upscaling a low-resolution file after the fact degrades quality.
Examples Analysis: What Works and Why
Effective Graphical Abstract Elements
Clear visual hierarchy:
- The primary finding commands the most visual weight
- Secondary information recedes into a supporting role
- The reading path is self-evident from composition alone
Visual storytelling:
- Shows a process, transformation, or before-and-after state
- Arrows connect cause and effect in a logical chain
- Text labels are brief and anchor specific elements rather than explain concepts
Professional presentation:
- Icon set is uniform in style and stroke weight
- Color palette is limited and each color carries deliberate meaning
- Composition is balanced with intentional white space
 Clear hierarchy and a disciplined color palette produce a professional, readable result.
Applying These Principles
Building a strong graphical abstract takes iteration, but the investment pays dividends in how far your research travels beyond the journal.
For researchers who need to move quickly, particularly on biological pathways, molecular structures, or process diagrams, tools like Figviz let you generate visual starting points before committing hours to a polished final version. Rough AI-generated drafts are especially useful for testing layout ideas and identifying which visual metaphor works best for your finding.
For a broader look at preparing publication-quality scientific figures, see our complete walkthrough: How to Make Figures for Nature, Science, and Cell Journals.
Related Resources
- How to Make Figures for Nature, Science, and Cell Journals
- Scientific Color Palette Guide
- How to Make Scientific Diagrams for Research Papers
- Best Free BioRender Alternatives
- Science Diagram Tools
FAQ
Q: What is a graphical abstract? A: A graphical abstract is a single visual that summarizes the central finding of a research paper. It uses illustrations, icons, and minimal labels to convey the key result in seconds. Unlike a written abstract, it is shareable on social media and helps readers across disciplines quickly judge whether the paper is relevant to their work.
Q: What size should a graphical abstract be? A: The required dimensions depend on your target journal. Cell Press specifies 1200 x 1200 pixels (square) at 300 DPI. Elsevier requires a minimum of 1328 x 531 pixels (approximately a 500:200 ratio) at 300 DPI. Always confirm the exact requirements on your specific journal's author guidelines page before you start.
Q: Can I use AI to create a graphical abstract? A: Yes, in many cases. Journals such as FEBS Press explicitly permit AI-generated graphical abstracts, as long as authors take responsibility for accuracy and acknowledge AI use in the image caption. Policies vary significantly across publishers, so check your target journal's guidelines before submitting an AI-generated visual.
Q: How long does it take to create a graphical abstract? A: Expect two to four hours if it is your first attempt. With experience and a good tool workflow, most researchers complete one in one to two hours. Using AI to generate initial concept drafts can compress the earliest exploration phase considerably.
Q: What is the difference between a graphical abstract and a TOC image? A: A Table of Contents (TOC) image is compact and simple, intended to appear alongside the article listing in the journal's table of contents. A graphical abstract is more detailed and designed to function as a self-contained summary of the research. Some journals use these terms interchangeably, so confirm which format your journal expects.
Q: Should I include data in my graphical abstract? A: Only sparingly. The primary purpose is to communicate the concept and central finding visually, not to present raw data. If you include any data at all, strip it down to the simplest possible representation. The majority of effective graphical abstracts are conceptual illustrations with little or no numerical data.
Q: What if my research does not translate naturally into images? A: Every research finding can be visualized with the right framing. For theoretical or computational work, consider illustrating the problem being addressed, the conceptual approach, or the real-world implications of the result. Abstract ideas lend themselves to metaphors, symbolic diagrams, and flowcharts even when there is no tangible object to depict.
Q: Can I reuse the same graphical abstract across multiple journal submissions? A: The core visual content can carry over, but you will likely need to resize and reformat it to match each journal's specifications. Confirm that dimensions, resolution, and file format all comply with the target journal's requirements before each submission.
Author